Creating Use Case Diagrams with Umbrello 5: A Comprehensive Tutorial
Table of Contents
- Introduction to Umbrello
- Getting Started
- Creating a New Use Case Diagram
- Adding Elements to the Diagram
- Creating Relationships
- Saving Your Work
- Example Project: Online Shopping System
1. Introduction to Umbrello
Umbrello UML Modeller is a powerful UML diagram tool that supports various aspects of software development. It's particularly useful during the analysis and design phases of software development.
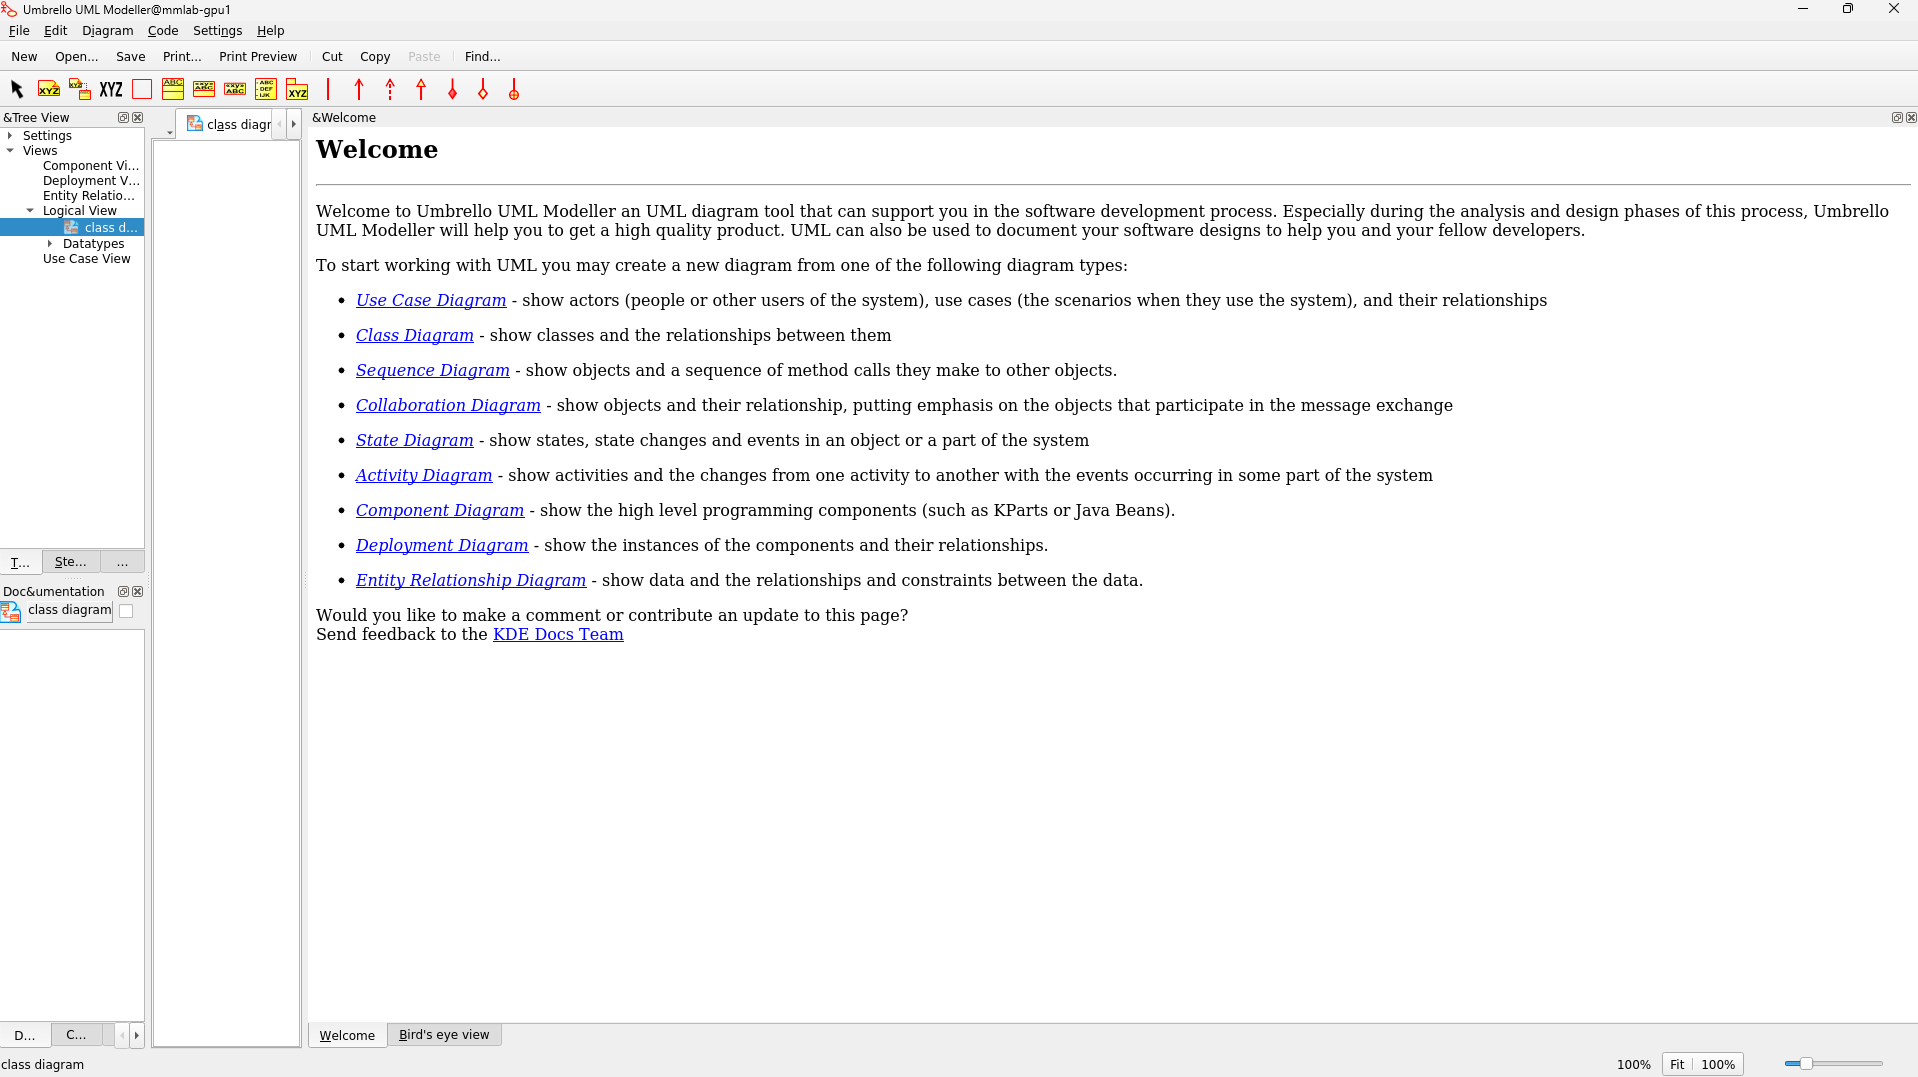 Umbrello's welcome screen showing available diagram types
2. Getting Started
Starting a New Project
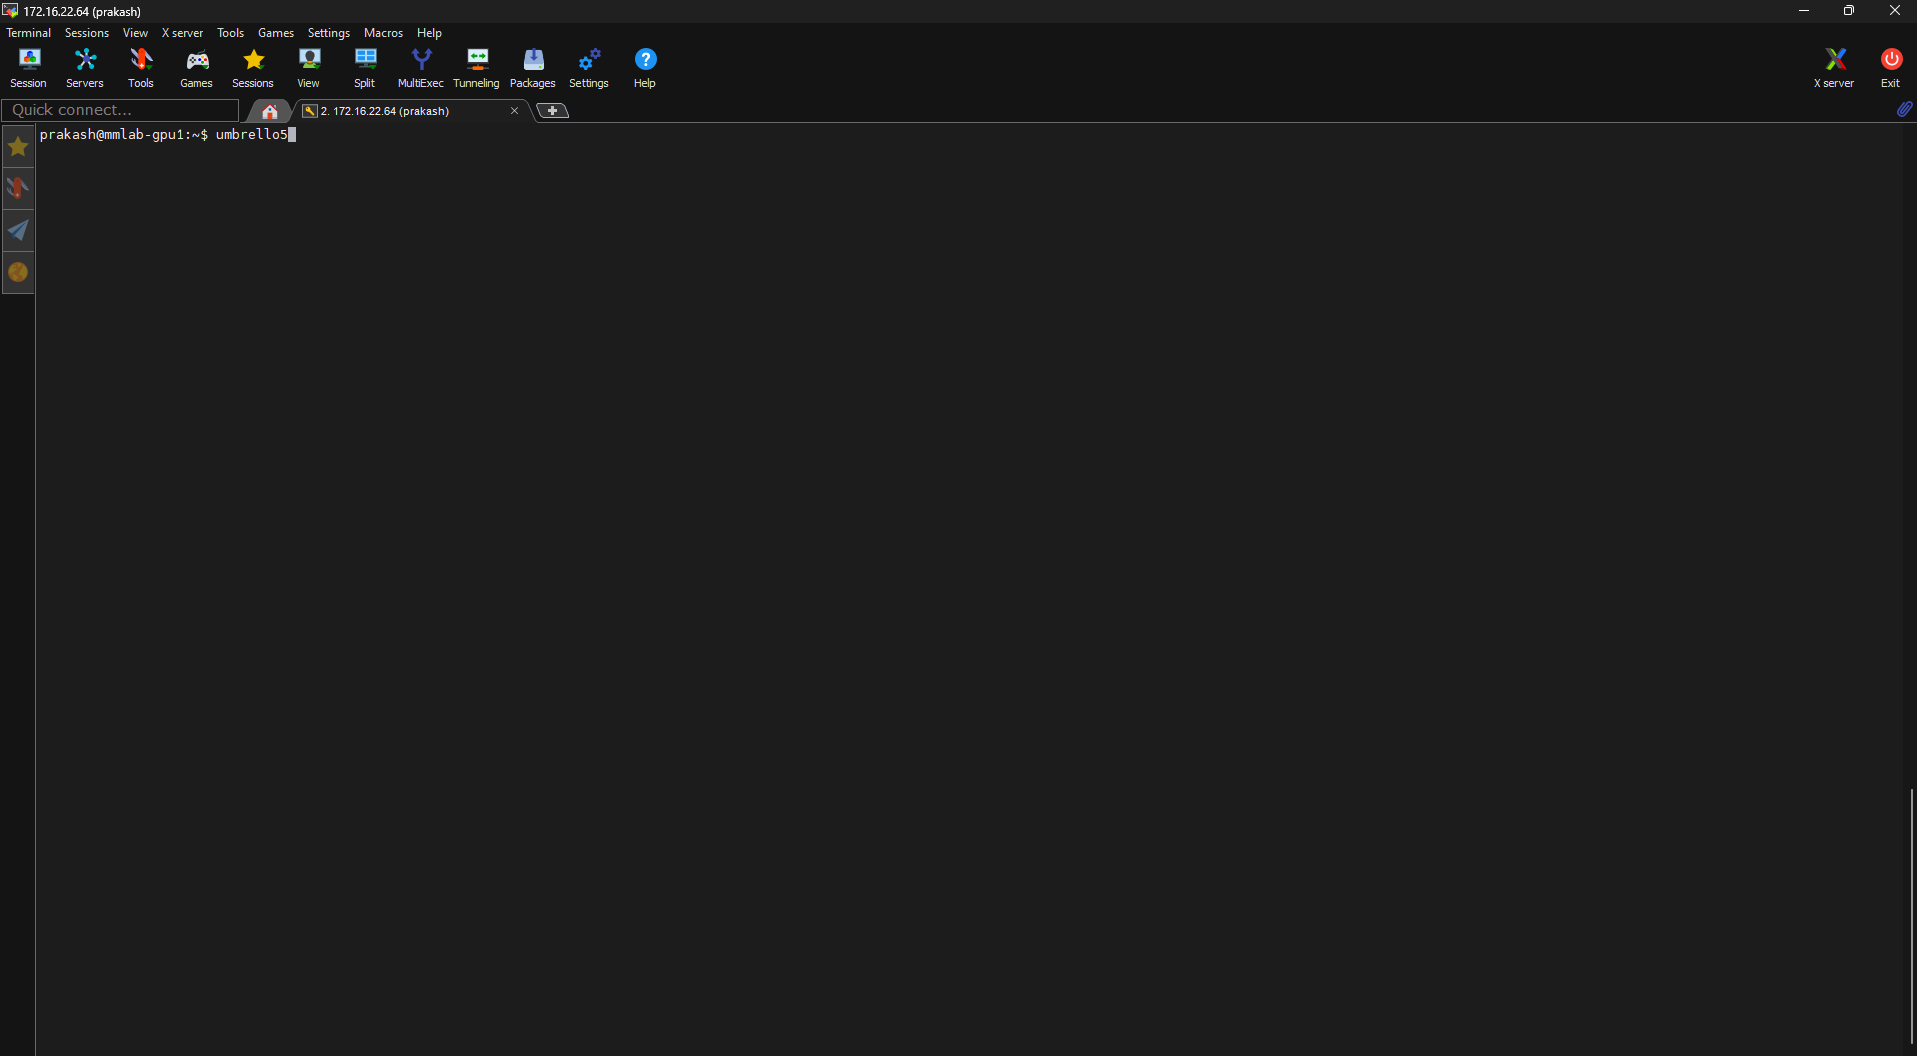
- Launch Umbrello 5, type this command in mobaxterm after logging in
- Simply click on type of diagram you will be working with, in this case we will be creating a use case diagram
- You'll be presented with a blank workspace
 Initial Umbrello interface showing the main workspace
3. Adding Elements to the Diagram
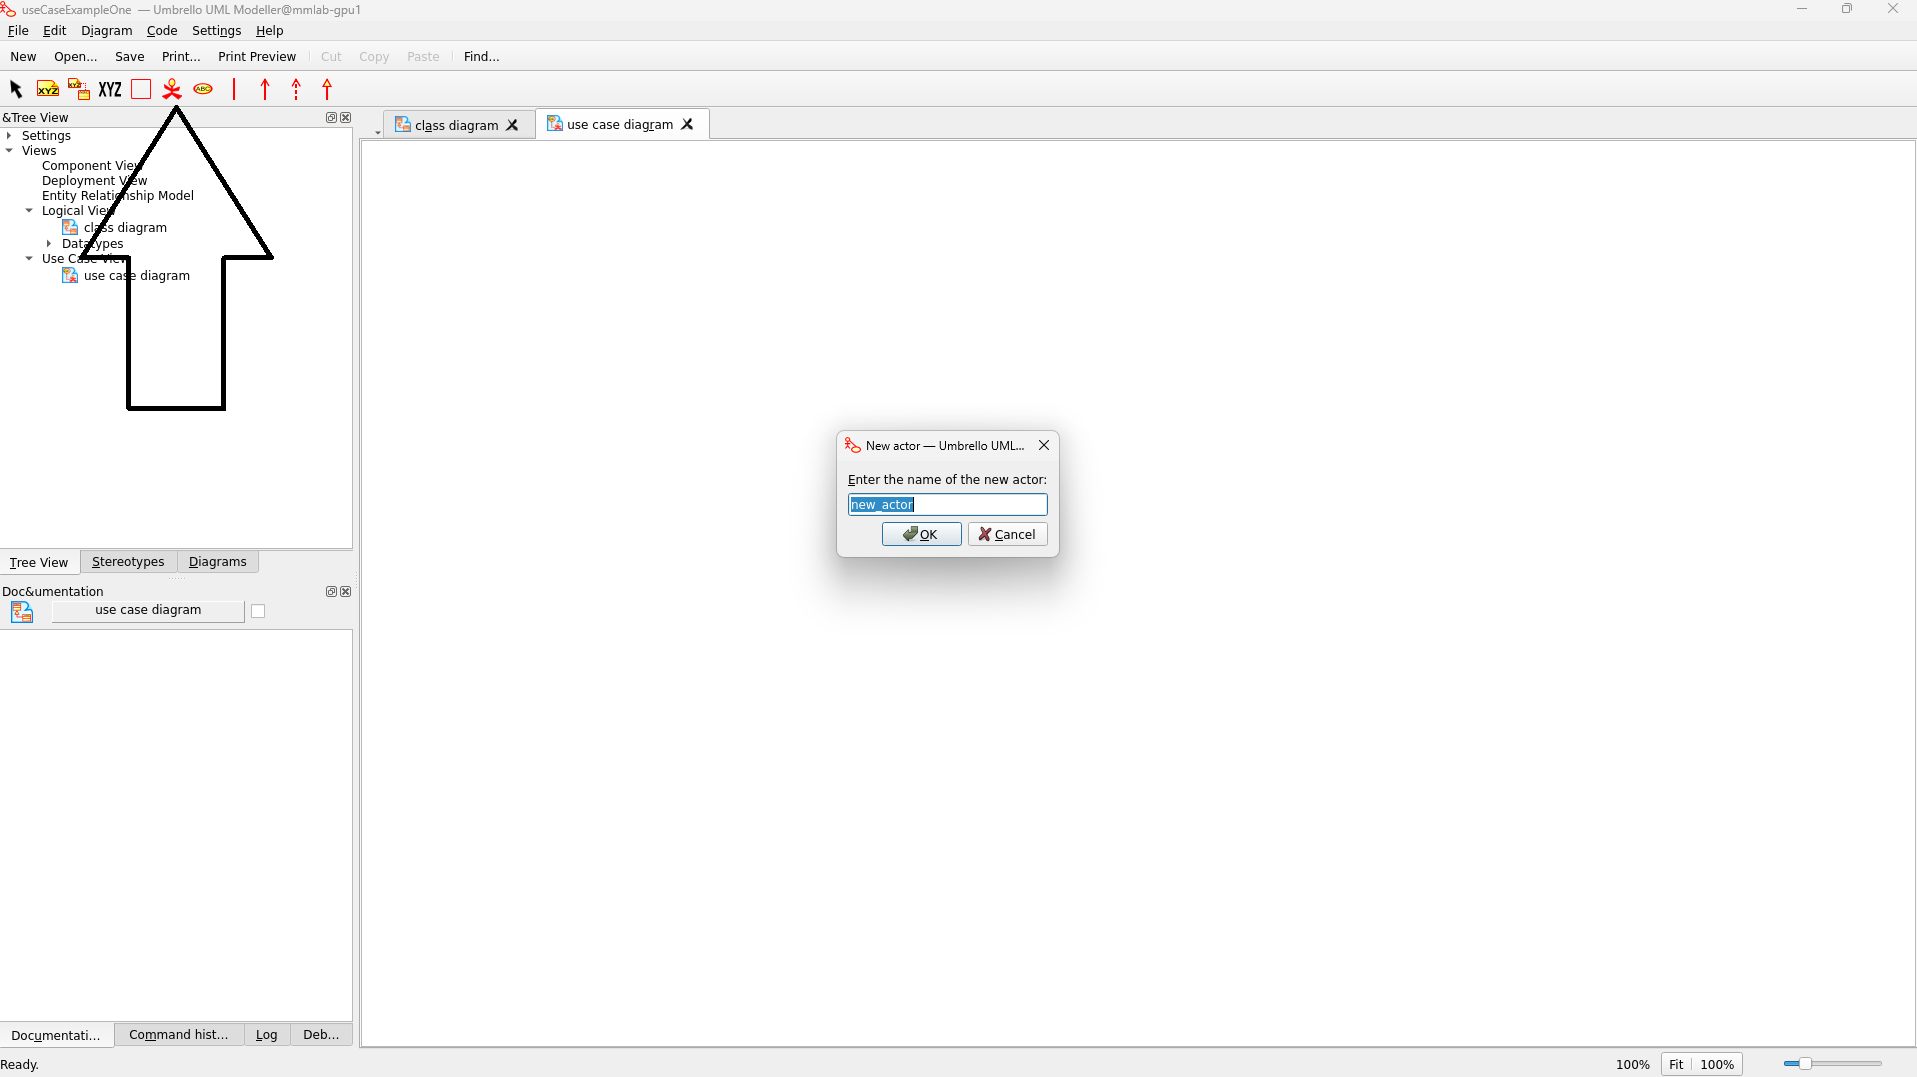
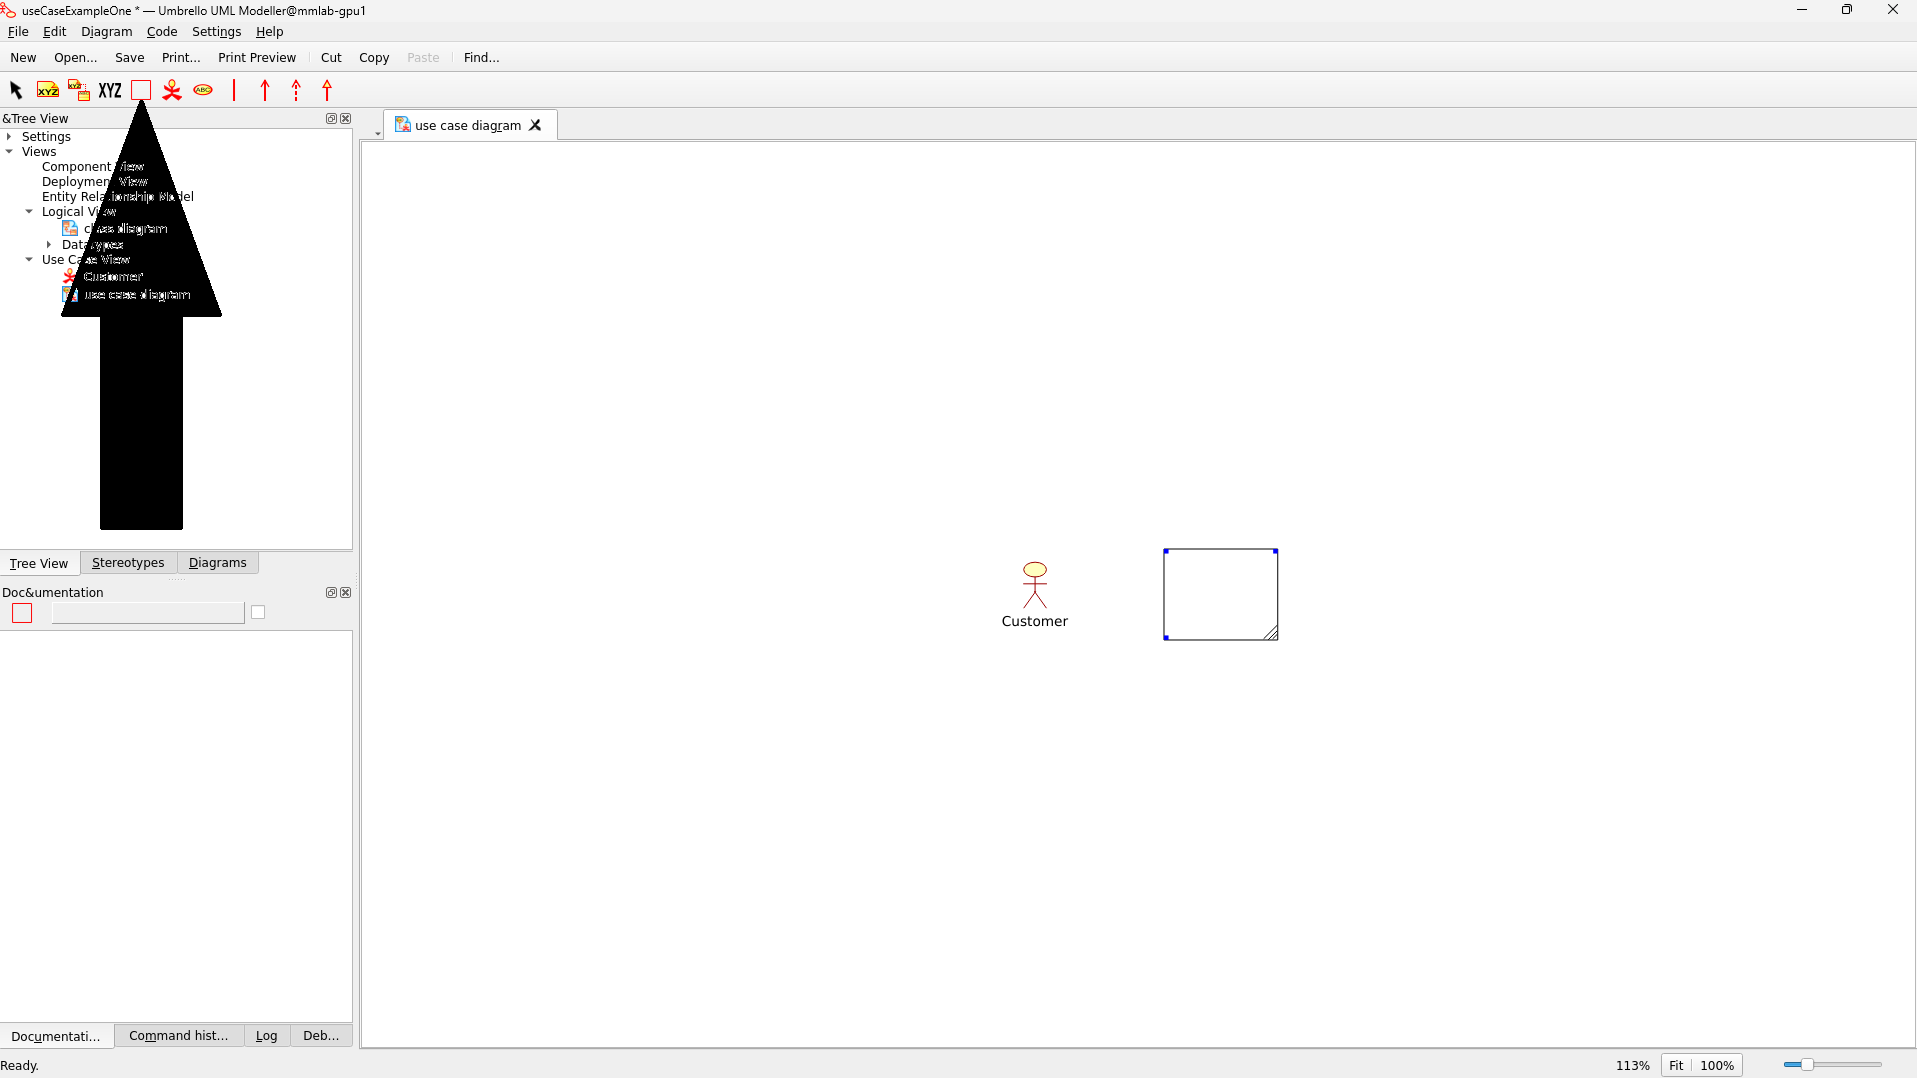
Adding Actors
- Select the Actor tool from the toolbar (looks like a stick figure)
- Click on the diagram where you want to place the actor
- A dialog will appear asking for the actor's name
- Enter the name (e.g., "Customer" or "Admin")
Adding System Boundary
- Select the Box tool from the toolbar
- Draw a rectangle that will contain all use cases
- This represents your system's boundaries
Adding Use Cases
- Select the Use Case tool from the toolbar (oval shape)
- Click inside the system boundary where you want to place the use case
- Name your use case (e.g., "Browse Products", "Add to Cart")
Adjust Size and Position
One of the most important aspects of creating clear use case diagrams is properly positioning and sizing your elements. Here's how to do it:
Selecting Elements:
- Click the Select tool (arrow icon) in the toolbar
- Click on the element you want to adjust
Adjusting Position:
- With the element selected, click and hold the left mouse button
- Drag the element to the desired position
- Release the mouse button to place the element
Adjusting Size:
- Select the element you want to resize
- Look for the lines at the right-bottom corners of the element
- Click and drag the lines to adjust the size
- The bottom-right corner handle is most commonly used for proportional resizing

5. Creating Relationships
Creating Basic Associations
- Select the Association tool from the toolbar
- Click on the source element (usually an actor)
- Click on the target element (usually a use case)
- A solid line will appear connecting them
Creating Include Relationships
- Select the Include relationship tool
- Click on the base use case
- Click on the included use case
- A dashed line will appear
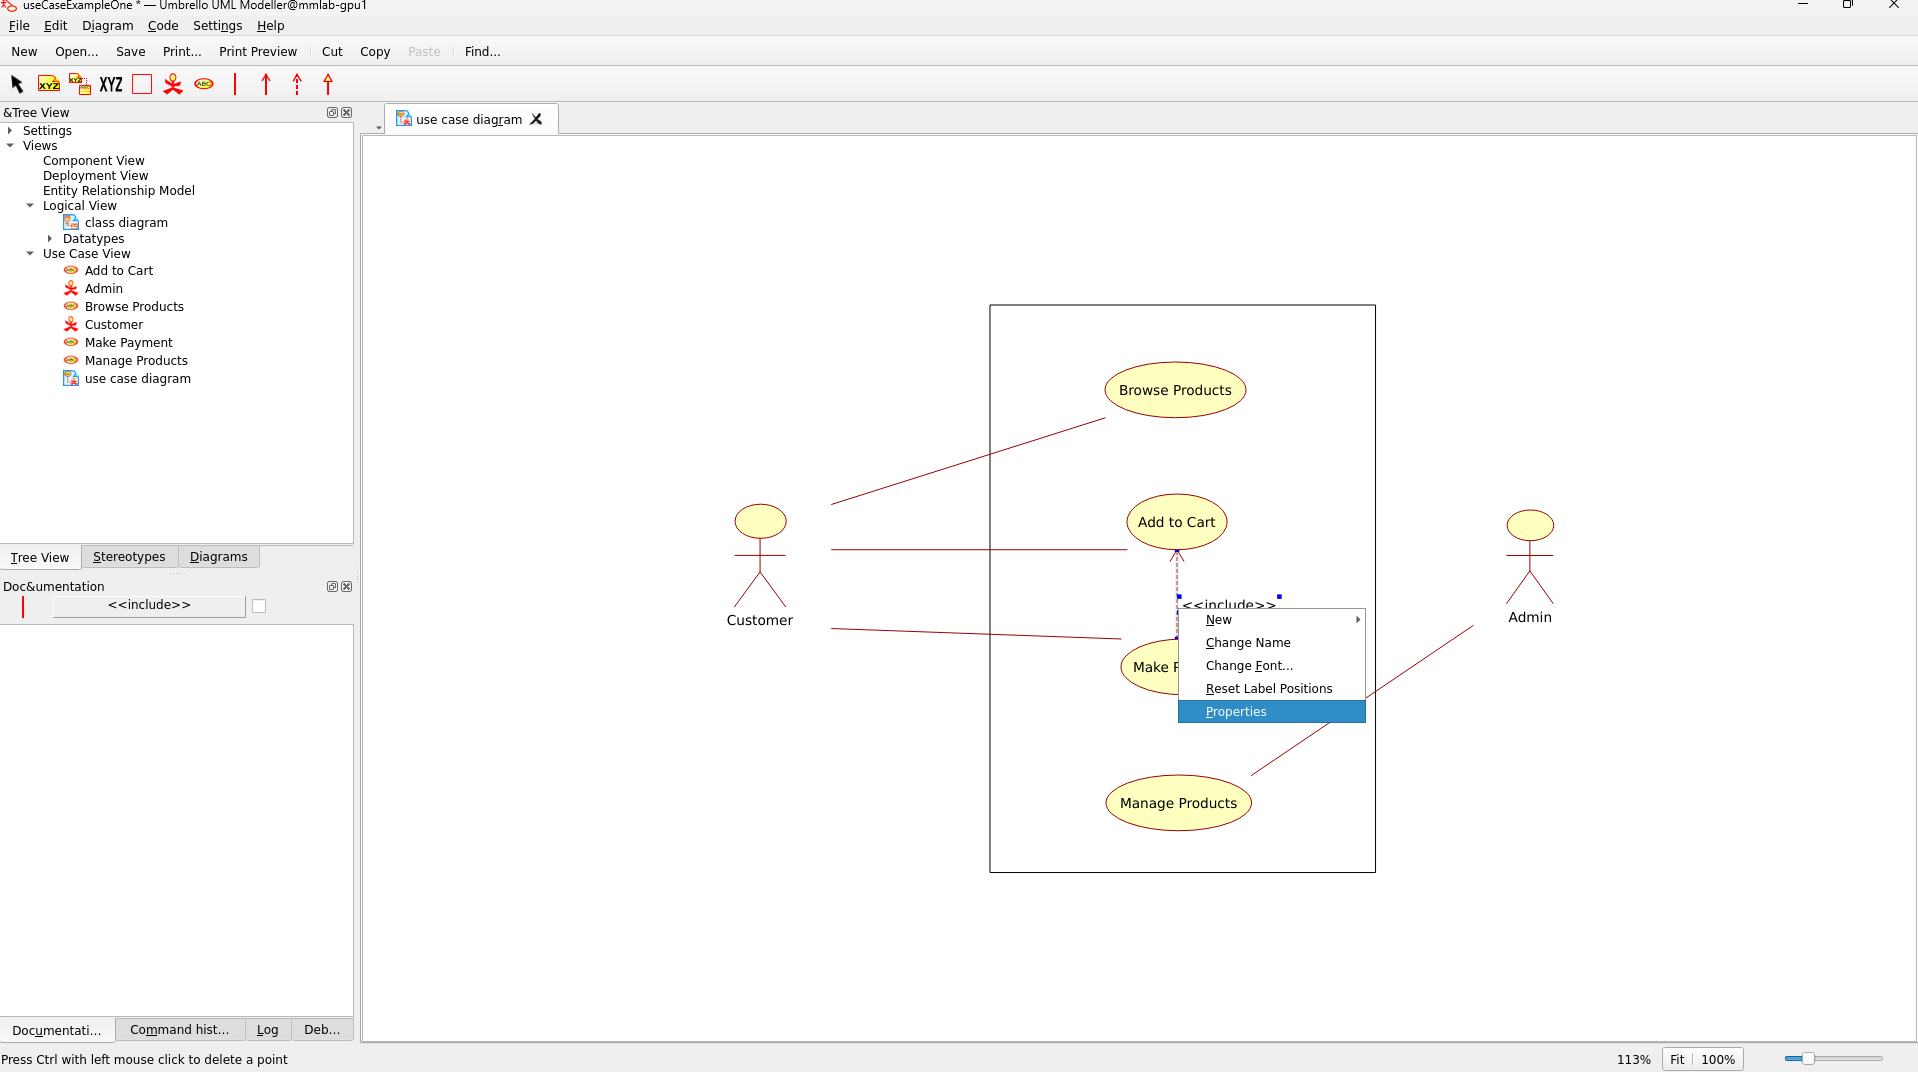
To modify relationship properties:
- Right-click on the relationship line
- Select "Properties"
- Adjust settings as needed
- Edit the name and add the name of the assosication
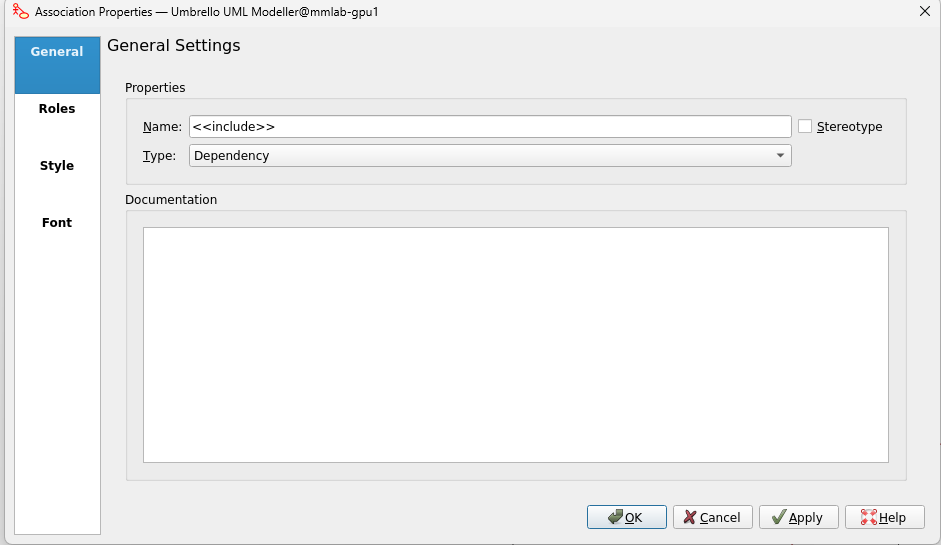 Relationship properties dialog showing available options
6. Saving Your Work
- Go to File → Save As
- Choose a location and filename
- Select .xmi file format
- Click Save
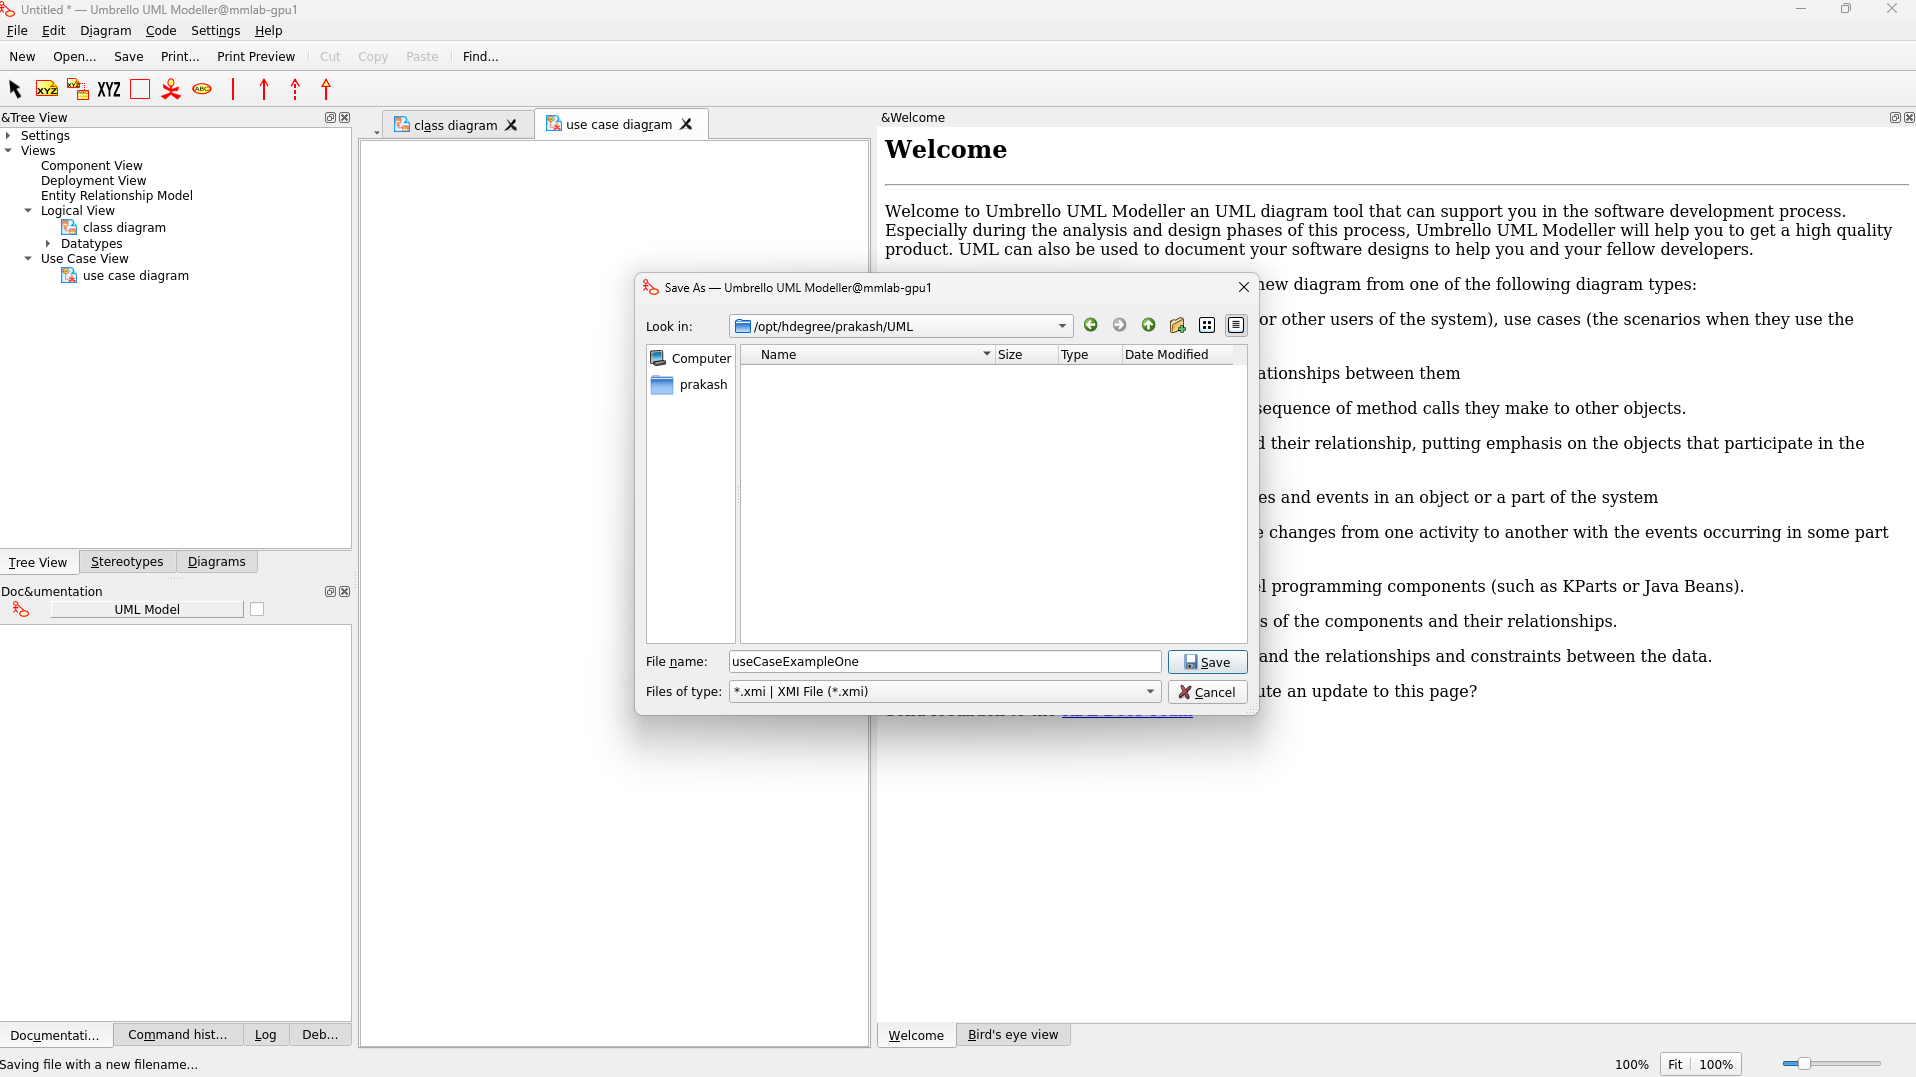 Save dialog showing file options
7. Example Project: Online Shopping System
Let's create a complete use case diagram for an online shopping system:
-
Add Actors:
- Customer
- Admin
-
Add Use Cases:
- Browse Products
- Add to Cart
- Make Payment
- Manage Products
-
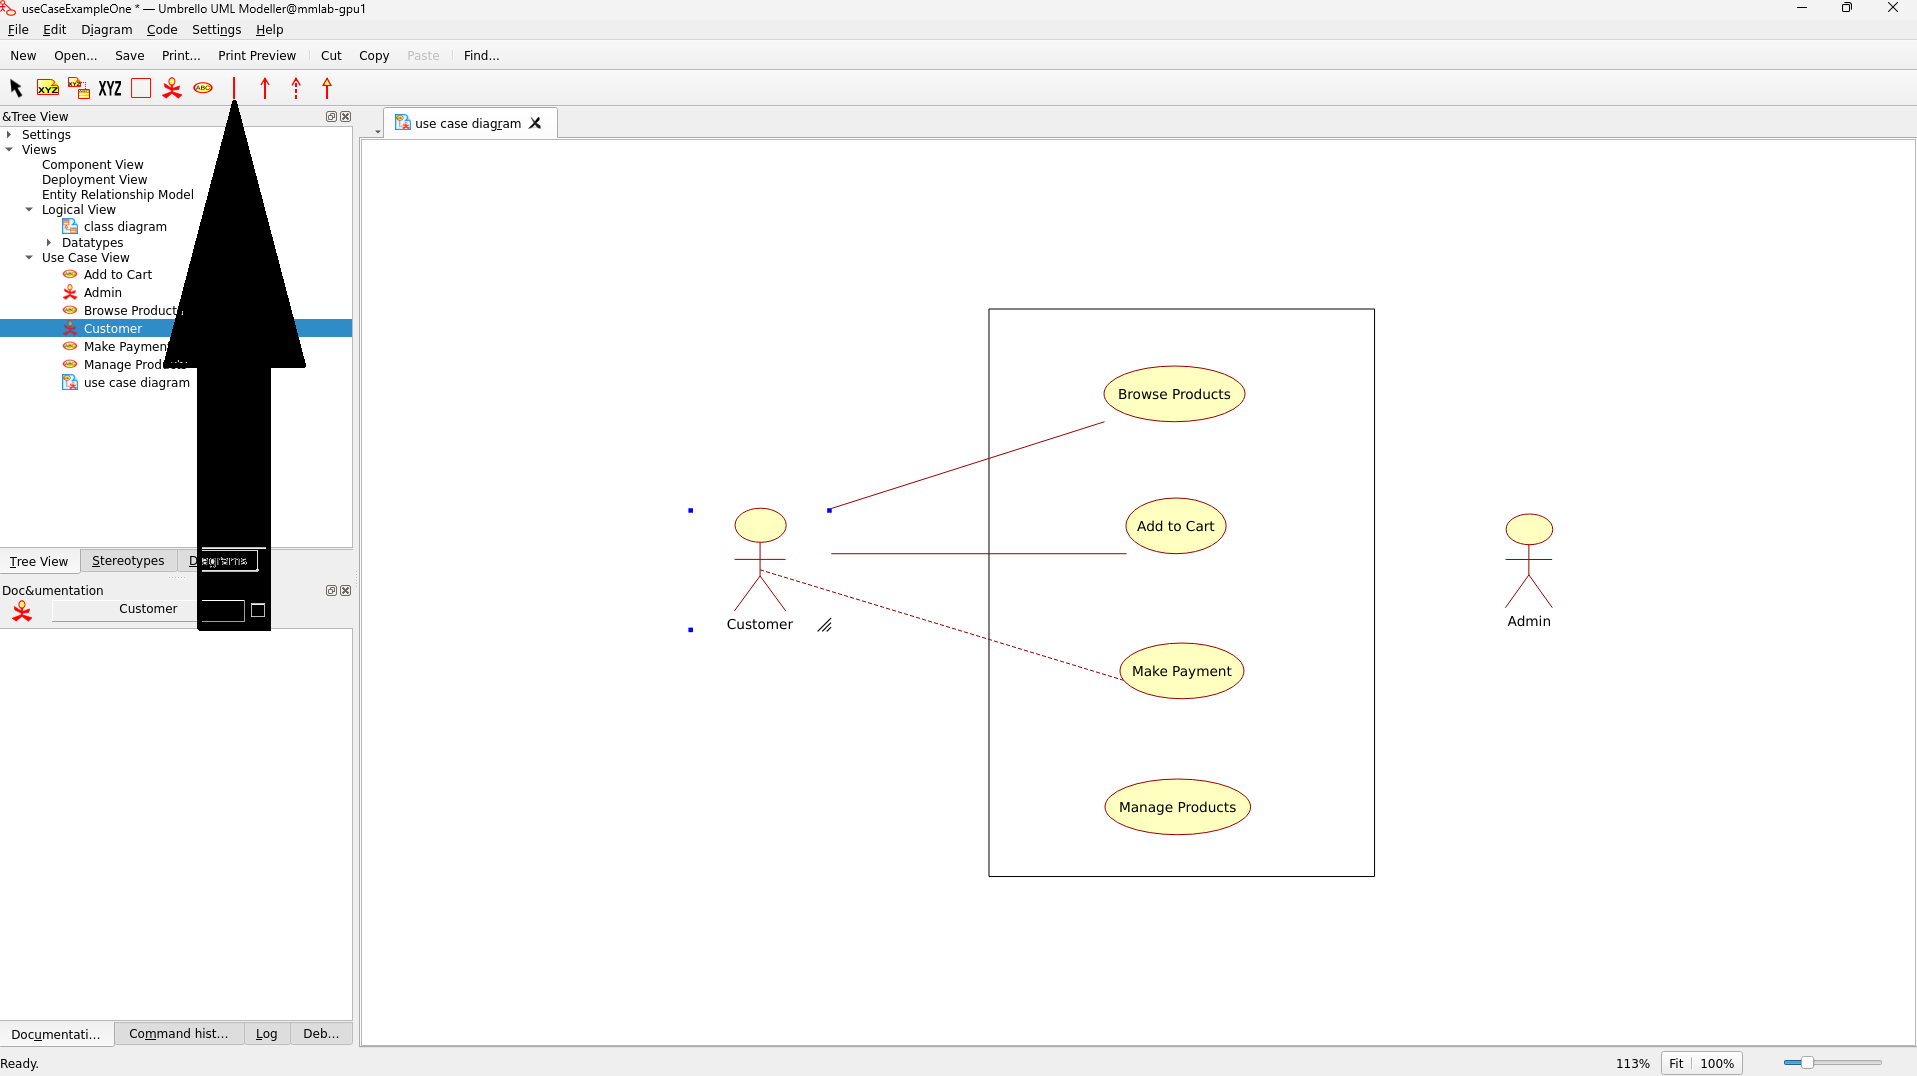
Create Relationships:
- Connect Customer to Browse Products, Add to Cart, and Make Payment
- Connect Admin to Manage Products
- Add include relationship between Add to Cart and Make Payment
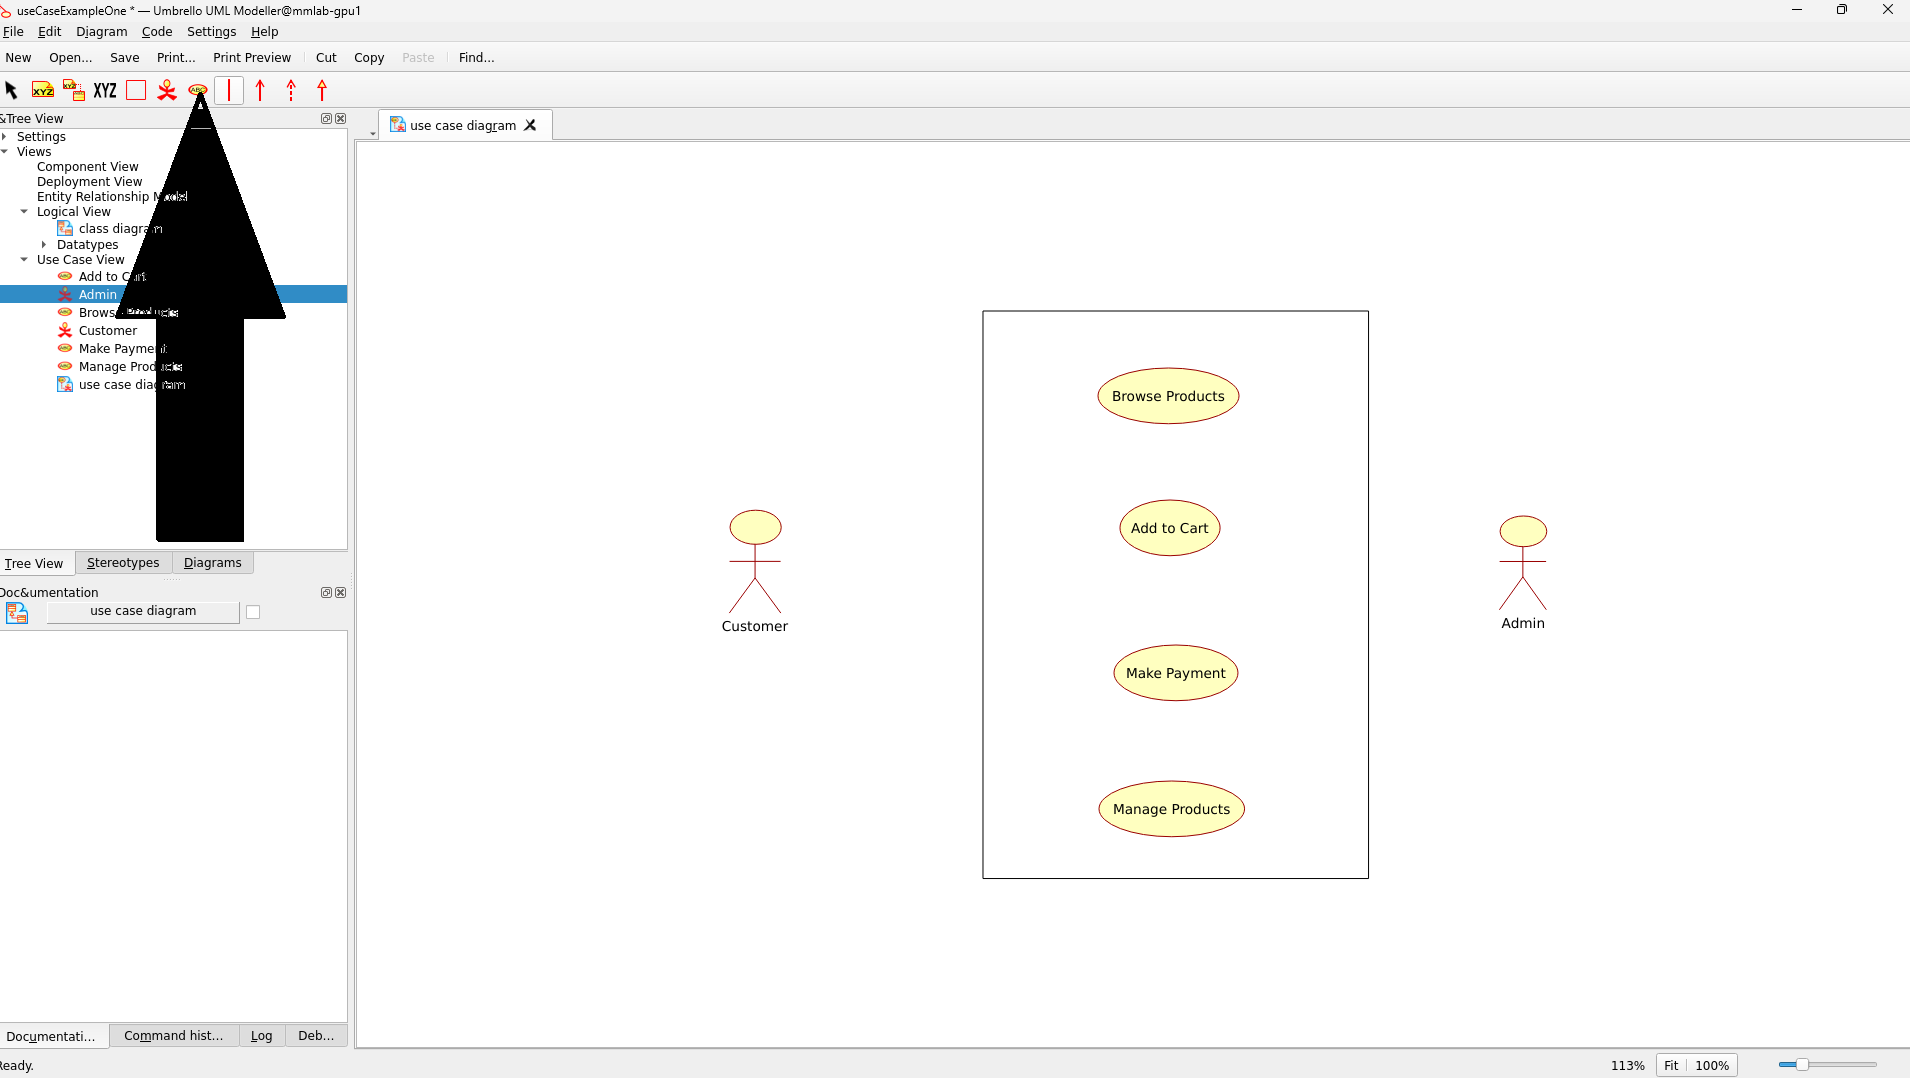
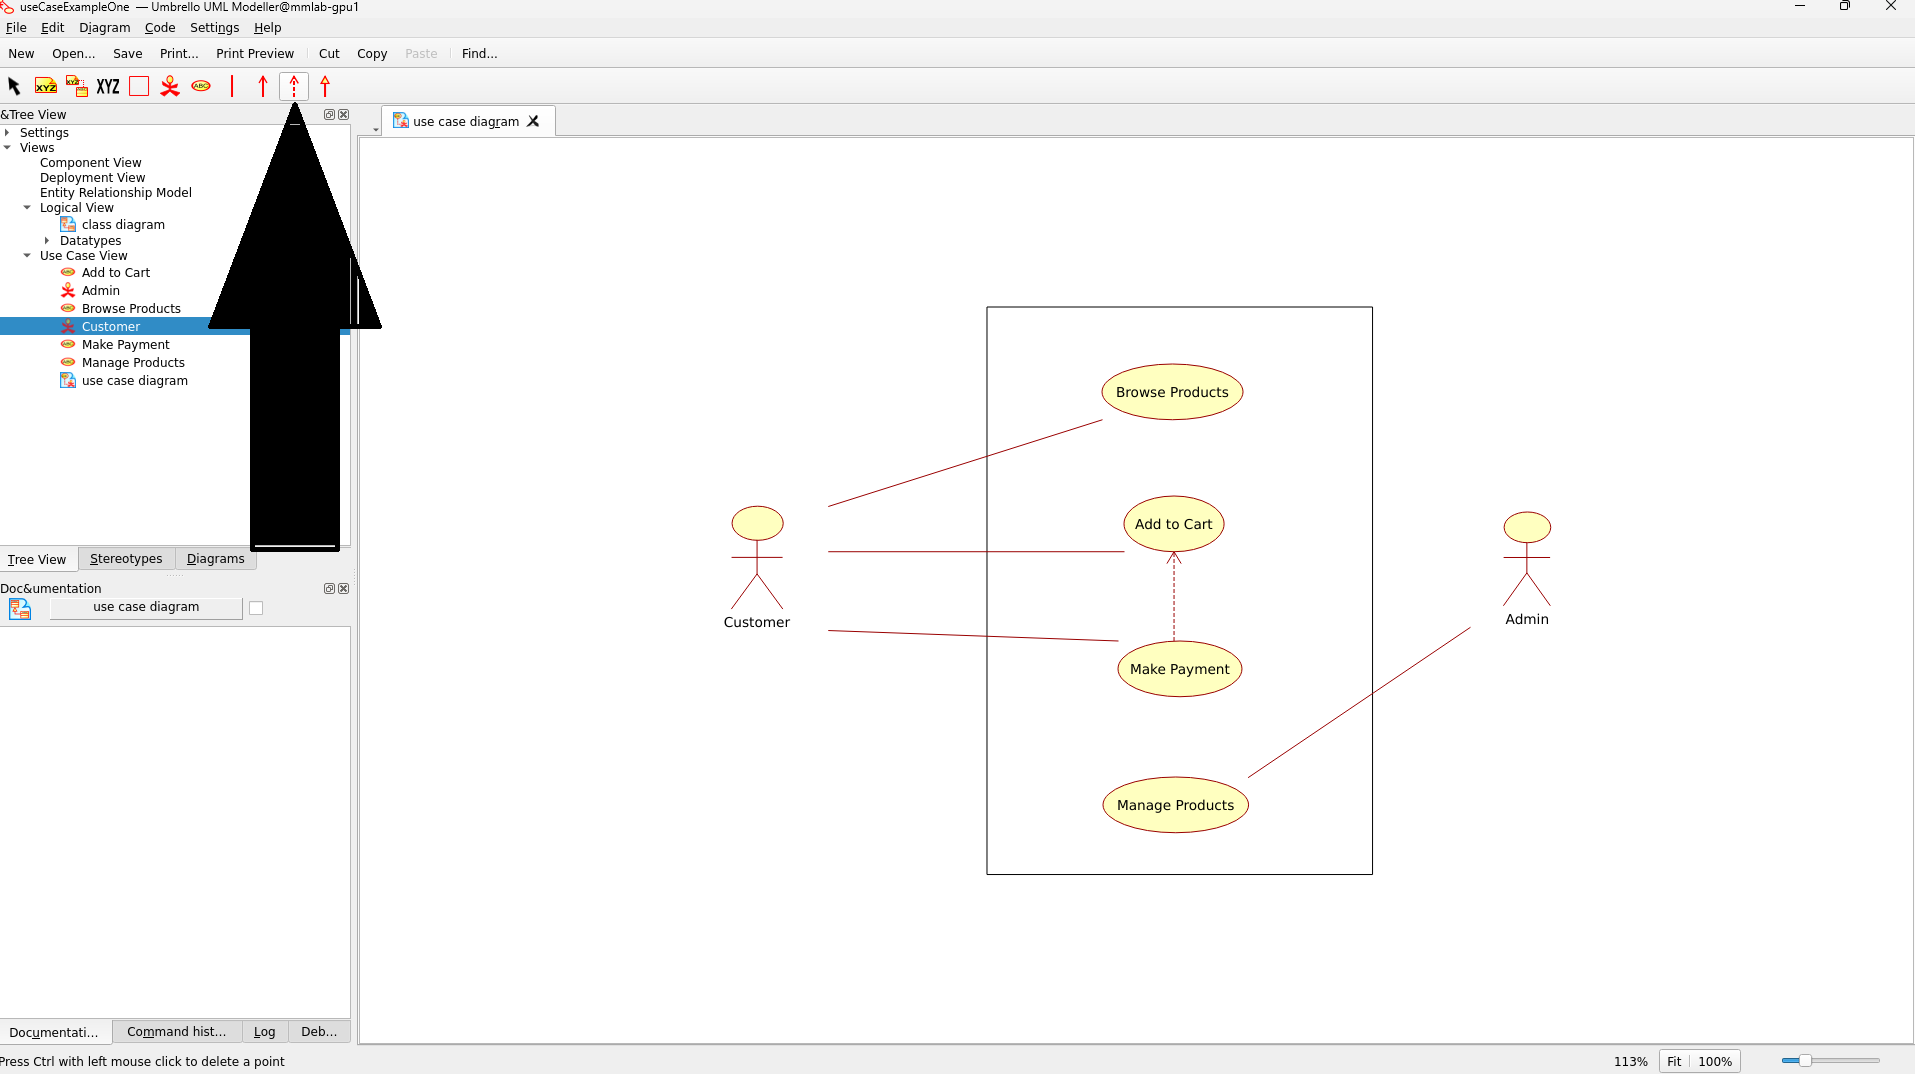
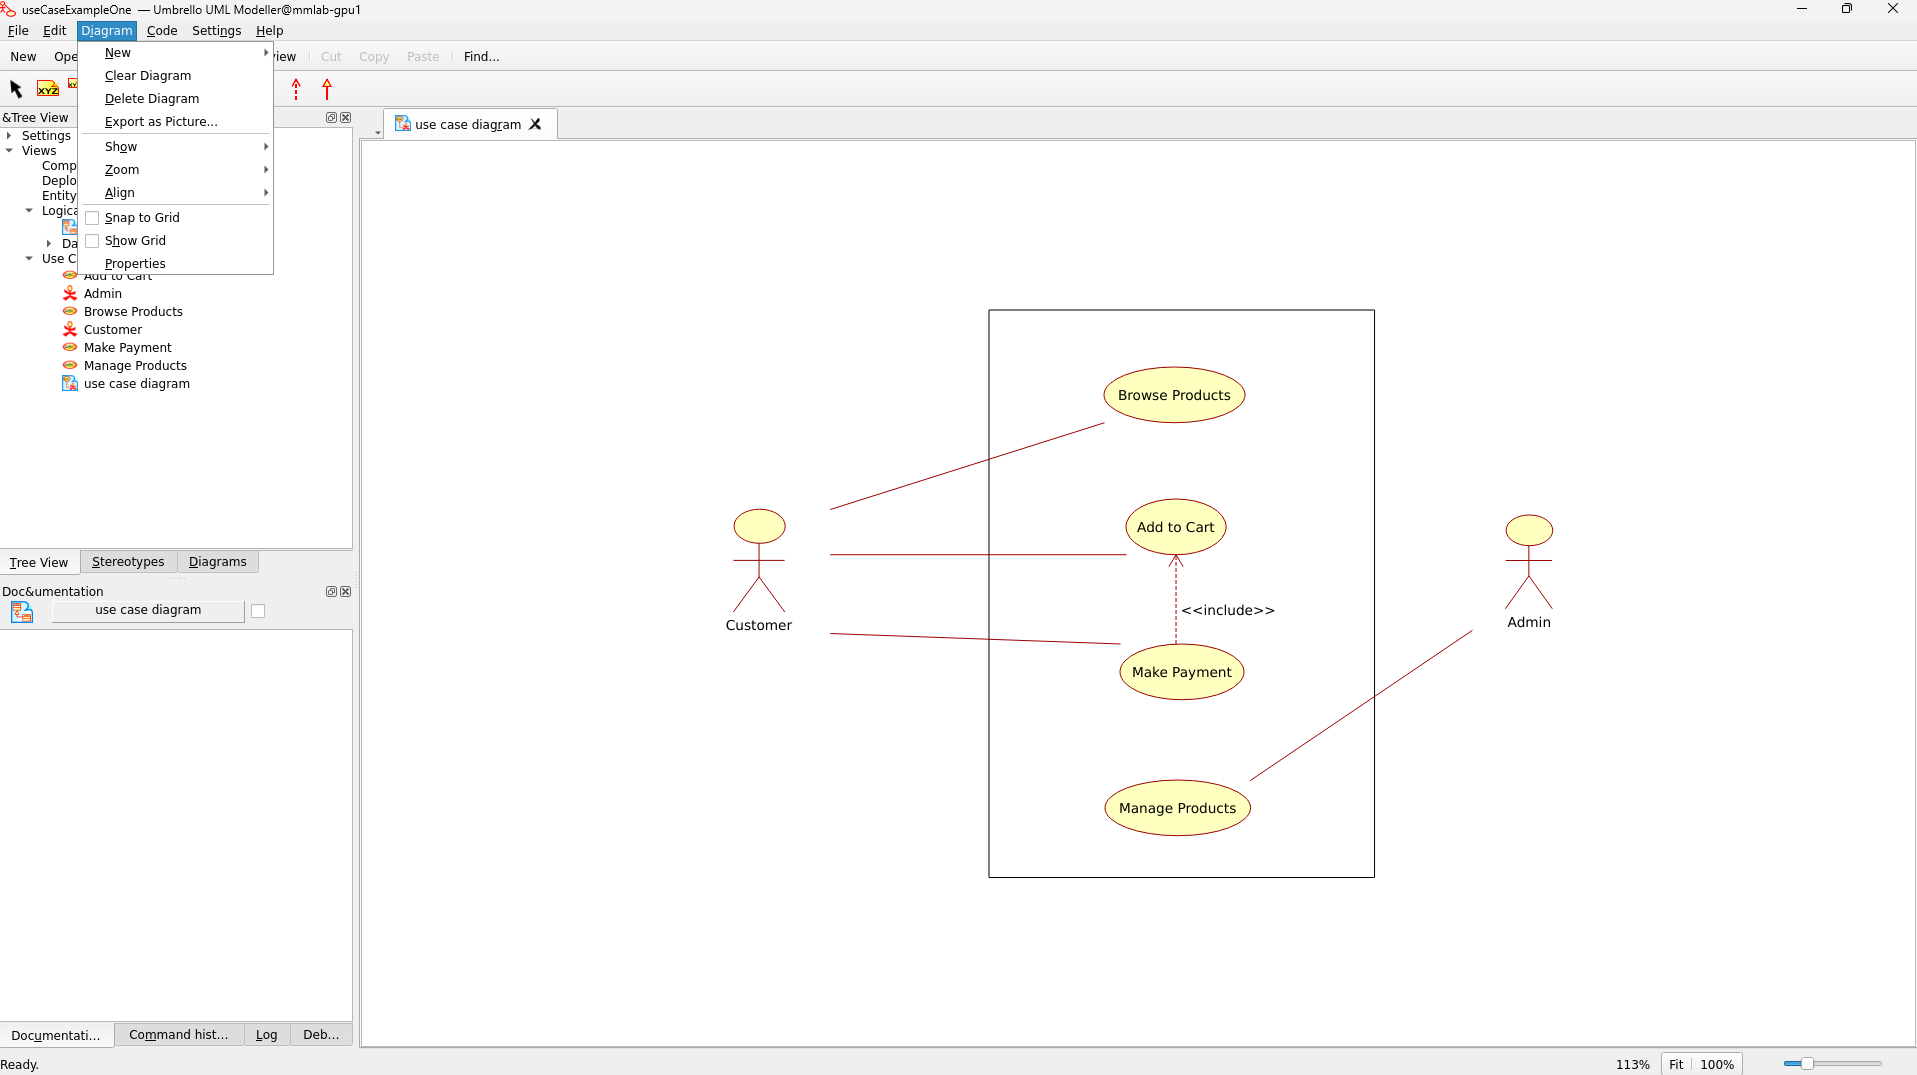 Completed example of an online shopping system use case diagram
Additional Screenshots for Reference:
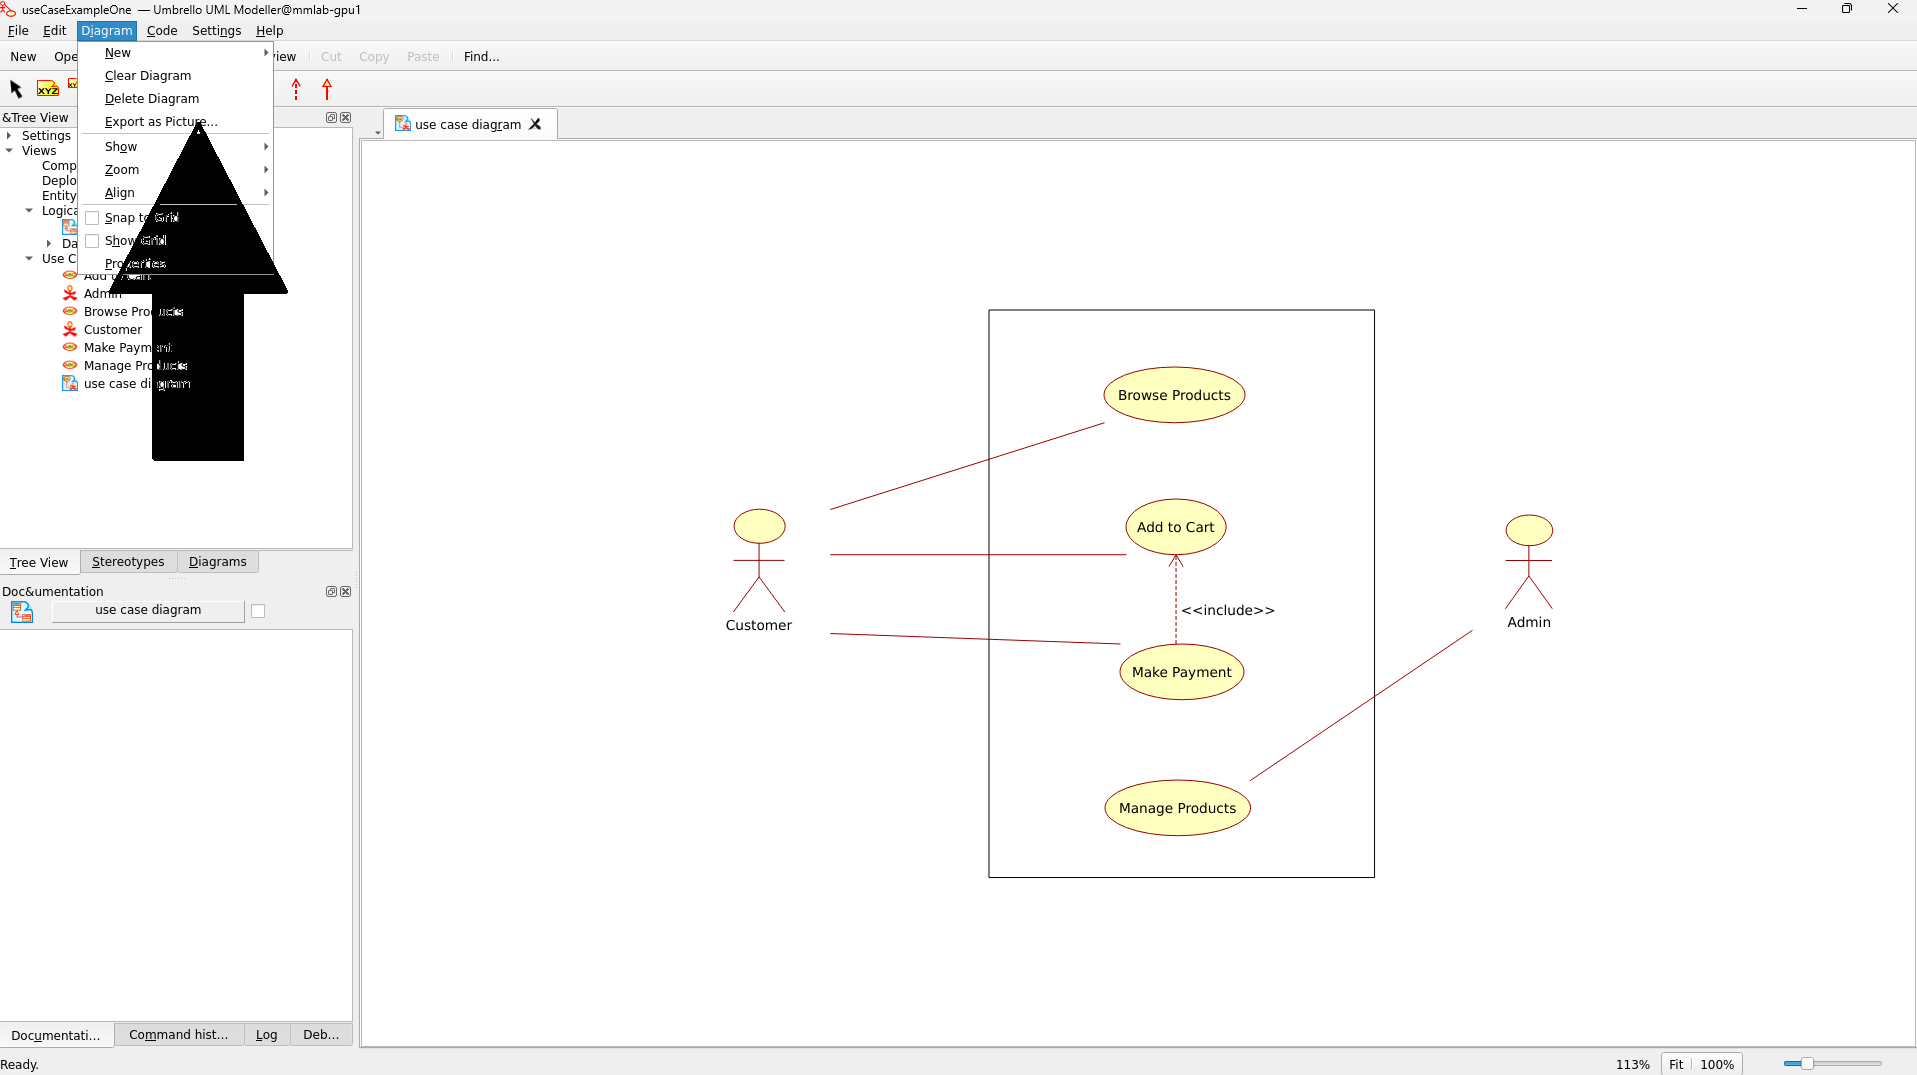
1. Save as png
- Go to Diagram
- Select the option to Export as picture
Tips and Best Practices:
- Keep your diagram clean and organized
- Use clear, descriptive names for actors and use cases
- Ensure relationships make logical sense
- Save your work frequently
- Use the alignment tools to maintain neat appearance
Keyboard Shortcuts
- Ctrl+S: Save
- Ctrl+Z: Undo
- Ctrl+Y: Redo
- Delete: Remove selected element
Remember to regularly save your work and maintain a clear, organized layout for your diagrams. Use case diagrams should be easy to understand and effectively communicate the system's functionality to stakeholders.